
Installing Vaultwarden server with Apache and SSLH proxy
Introduction
Vaultwarden is a lightweight, single-process, rust based alternate implementation of the Bitwarden Server API which is compatible with bitwarden password manager clients. In short, Vaultwarden is an open source password management application which can be easily self-hosted with the help of docker and minimum hardware requirements. Before getting started, I’d like to make little disclaimer that,
“By hosting your own Vaultwarden password manager you are taking full responsibility for the safety and security of sensitive data that’ll be stored in Vaultwarden server. Before storing passwords, secret keys or any confidential information in the application, ensure that you’re confident of the security of the underlying server where the docker container will be hosted. In the unlikely event your server gets compromised, you shall understand that you’re liable for any legal actions that may ensue.”
Disclaimer
Table of Contents
Prerequisites
This article is a part in a series of articles I mentioned in my first blog post. As such, I assume you’ve installed an Apache server behind SSLH proxy. If that’s not the case, then you can follow my guide on how to install Apache behind SSLH proxy before proceeding with this guide. The following image will give you a brief idea about how our setup will look like.
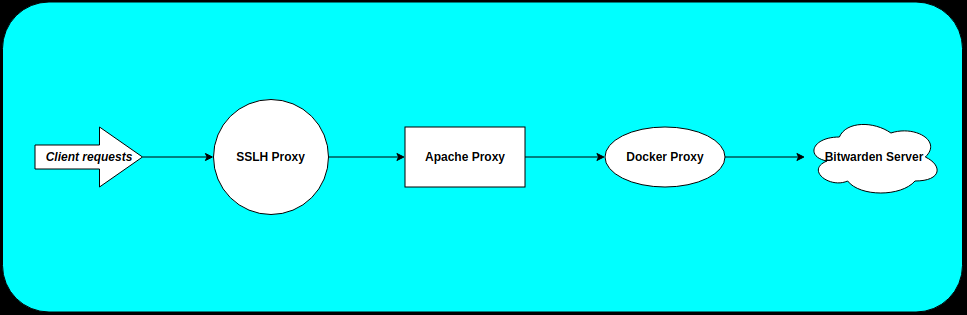
I know directing requests to a proxy from a proxy to another proxy to reach the final webserver seems a bit inceptionised and overly complicated, but bear with me until you understand the concept behind it. Once you get the idea, you’ll know how easy it is to implement such a setup.:) So as such, the prereqs are:-
- As always, an Ubuntu Server.
- Apache running behind SSLH proxy as mentioned in my guide.
- Packages required for rootless docker, i.e.,
uidmap,dbus-user-sessionandsystemd-container. Note, I’ll assume that you don’t have rootful docker installed. If it is installed, then you can disable it following this guide.
Rootless docker Installation
Install required packages
First, install the required packages for rootless docker.
apt-get install uidmap dbus-user-session systemd-containerCreate an user to run Vaultwarden container
useradd -m -d /home/vaultwarden -s $(which bash) vaultwardenCreate directory for app data
Create a directory on your server to store the database and application data for Vaultwarden container.
mkdir -p /data/vaultwardenNext, restrict the permissions for the directory to vaultwarden user.
chown -R vaultwarden:vaultwarden /data/vaultwarden
chmod go-rwx /data/vaultwarden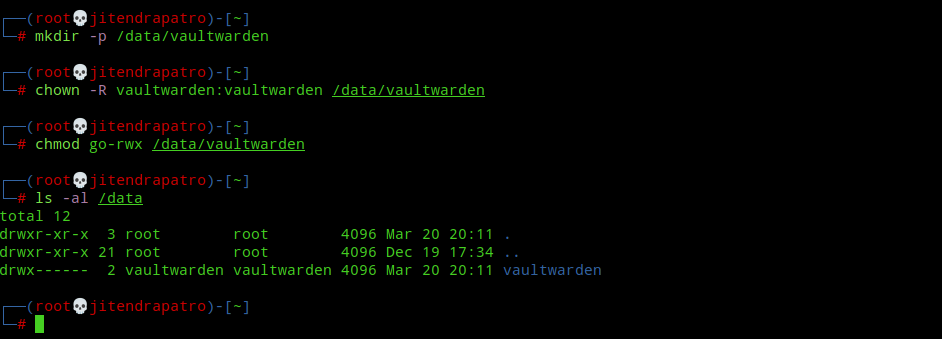
Install rootless docker
First, switch to vaultwarden user using the following command:-
machinectl shell vaultwarden@Note:- Don’t use sudo or su to switch to the user. You can read my guide to know why this is important.
Next, install rootless docker using the following command:-
curl -fsSL https://get.docker.com/rootless | sh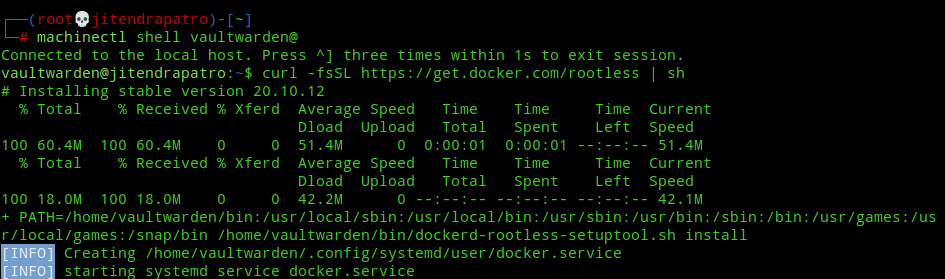

Next, append the environment variables given at the end of the successful installation to your ~/.bashrc file. Now, you can either logout and log back in or you can use “source ~/.bashrc” command to immediately apply the changes without logging out.
nano ~/.bashrc
source ~/.bashrc
Next, start and enable docker service to run at system startup.
systemctl --user start docker
systemctl --user enable docker
Next, enable user lingering with loginctl. For more info on user lingering, refer my guide on rootless docker.
loginctl enable-linger $(whoami)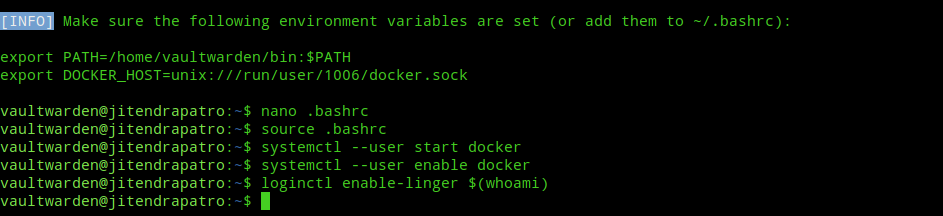
Install Vaultwarden
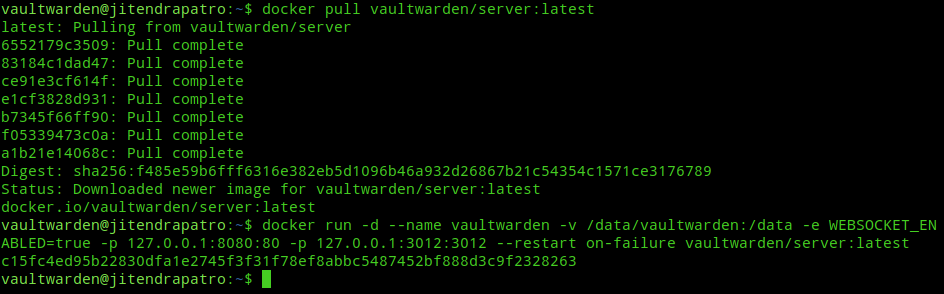
Pull the Vaultwarden docker image.
docker pull vaultwarden/server:latestCreate the Vaultwarden docker container.
docker run -d --name vaultwarden -v /data/vaultwarden:/data -e WEBSOCKET_ENABLED=true -p 127.0.0.1:8080:80 -p 127.0.0.1:3012:3012 --restart always vaultwarden/server:latestThe flags used in the above command can be explained as follows:-
-d:- run the container in the background as a daemon--name:- To give a human readable name(in this case vaultwarden) to the container.-v:- Bind mount the/data/vaultwardendirectory on our server to/datadirectory on the container for data persistence outside the container in the event the container is stopped.-
-e:- Used to set the WEBSOCKET_ENABLED environment variable to true in order to enable websocket notifications for browser and desktop clients. For more info visit this link. -p:- Used to forward the ports 8080, 3012 on the server to port 80,3012 on the container respectively. The port 80 runs the Bitwarden webapp and the port 3012 runs the websocket server on the container.--restart on-failure:- Restarts the docker container in the event of failure or on restart of the underlying server.
Configure Apache as a reverse proxy
Enable Apache proxy modules
a2enmod proxy_http proxy_wstunnel
systemctl restart apache2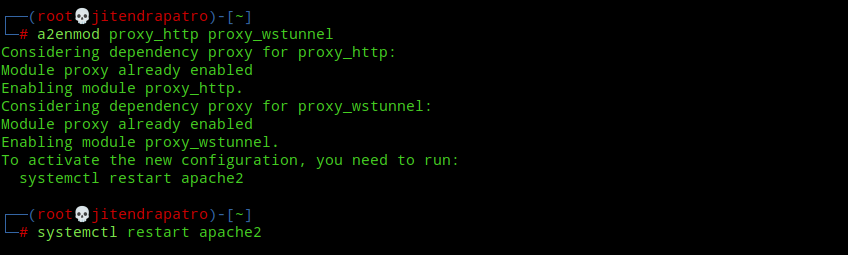
Create an Apache vhost config for vaultwarden
Create a file in /etc/apache2/sites-available called bitwarden.conf.
nano /etc/apache2/sites-available/bitwarden.confNext, paste the following code into your editor(change the domain name):-
<VirtualHost *:80>
    ProxyPreserveHost On
    ProxyRequests Off
    ServerName bitwarden.jitendrapatro.me
    ProxyPass /.well-known/acme-challenge !
    ProxyPass / http://127.0.0.1:8080/
    ProxyPassReverse / http://127.0.0.1:8080/
</VirtualHost>
Note:- You should also add the subdomain in your DNS manager provided by your Domain Registrar.
Next, enable the vhost config:-
a2ensite bitwarden.conf
systemctl reload apache2
Stop SSLH service
We need to stop SSLH proxy service to install certificates with certbot.
service sslh stopInstall SSL Certificates
Install a free Let’s Encrypt cert using certbot:-
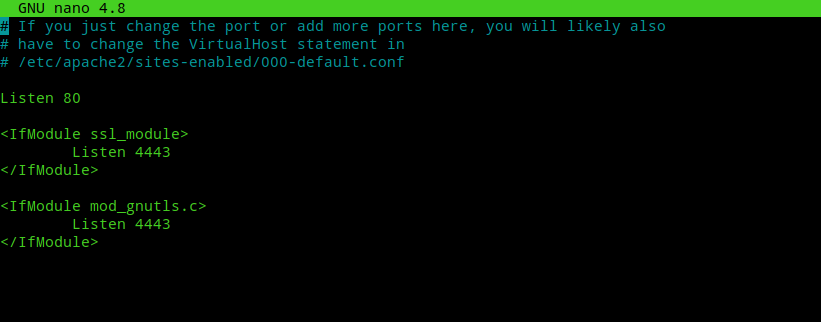
certbot --must-staple --apache --rsa-key-size 4096 -d bitwarden.jitendrapatro.meWhen installing certificates certbot adds a port 443 to /etc/apache2/ports.conf where we’ve set custom ports. We need to remove those lines before starting SSLH. Edit /etc/apache2/ports.conf and remove the last three lines.
nano /etc/apache2/ports.conf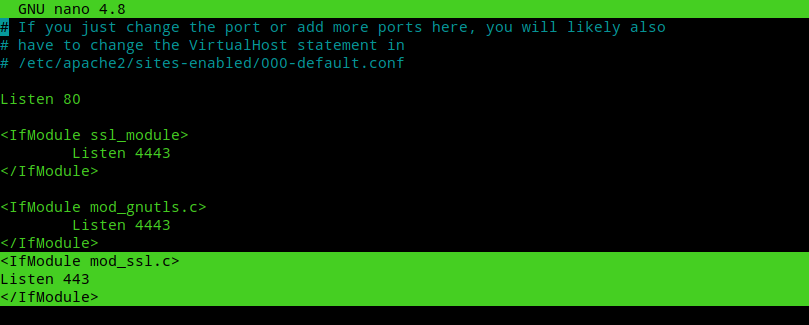
Next edit /etc/apache2/sites-available/bitwarden-le-ssl.conf file created by certbot and edit port 443 to port 4443. It must look like the code below.
<IfModule mod_ssl.c>
SSLStaplingCache shmcb:/var/run/apache2/stapling_cache(128000)
<VirtualHost *:4443>
    ProxyPreserveHost On
    ProxyRequests Off
    ServerName bitwarden.jitendrapatro.me
    ProxyPass /.well-known/acme-challenge !
    ProxyPass / http://127.0.0.1:8080/
    ProxyPassReverse / http://127.0.0.1:8080/

Include /etc/letsencrypt/options-ssl-apache.conf
SSLUseStapling on
SSLCertificateFile /etc/letsencrypt/live/bitwarden.jitendrapatro.me/fullchain.pem
SSLCertificateKeyFile /etc/letsencrypt/live/bitwarden.jitendrapatro.me/privkey.pem
</VirtualHost>
</IfModule>
Start Apache and SSLH service.
Now, restart Apache2 and SSLH service.
service apache2 restart
service sslh start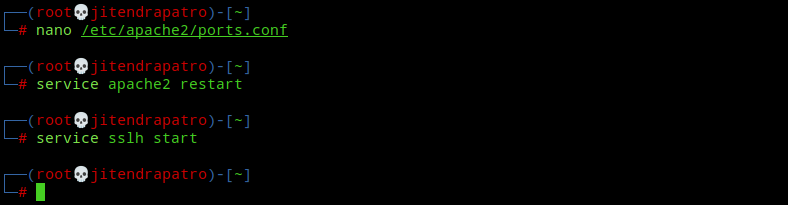
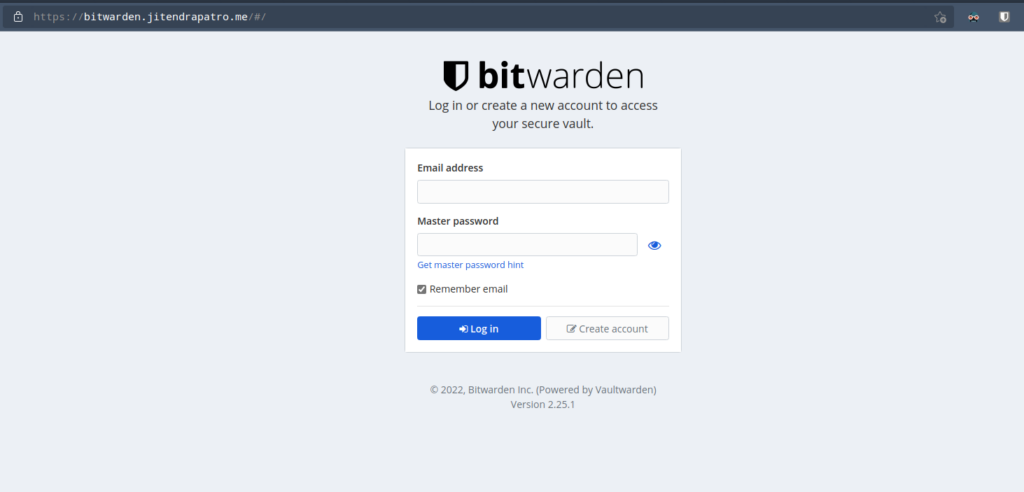
Now, try to visit your bitwarden server at https://bitwarden.yourdomain.com and you’ll greeted with bitwarden login screen. Congratulations, you’ve successfully installed bitwarden!!
Do the Initial Admin Setup
Create an account
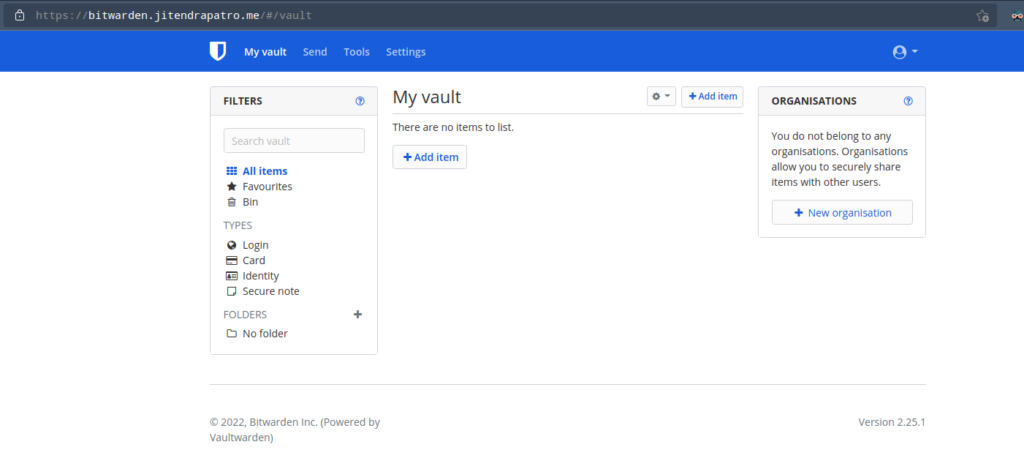
Create an account using the “Create account” button. Fill in the details as required and remember you should create a strong master password. After registration you’ll be redirected to the login screen. After logging in with your credentials, you’ll be greeted with the webvault. Now, you’ve a fully functional vaultwarden installation!
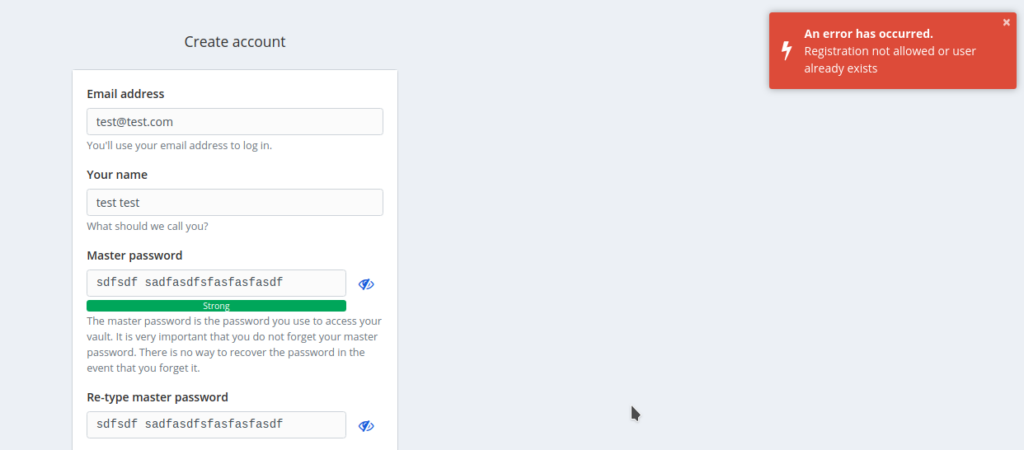
Disable anonymous user account creation
The problem with the vault is it doesn’t disable anonymous user sign up by default. This means at this point anybody can create an account on your vaultwarden server and use it if your server is publicly available. To prevent anybody from creating an account do as follows.
Stop the running vaultwarden container and remove it.
docker stop vaultwarden
docker rm vaultwarden
Next, start the container again with an additional flag “-e SIGNUPS_ALLOWED=false“. This prevents anybody from creating an account.
docker run -d --name vaultwarden -v /data/vaultwarden:/data -e WEBSOCKET_ENABLED=true -e SIGNUPS_ALLOWED=false -p 127.0.0.1:8080:80 -p 127.0.0.1:3012:3012 --restart always vaultwarden/server:latest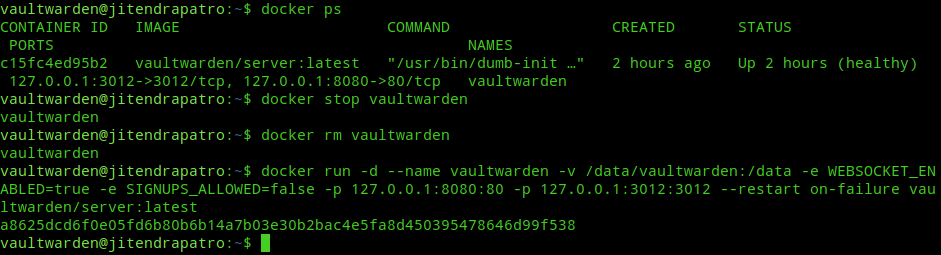
Now, if somebody tries to create and account, then they’ll see an error like the image below.
Using bitwarden clients
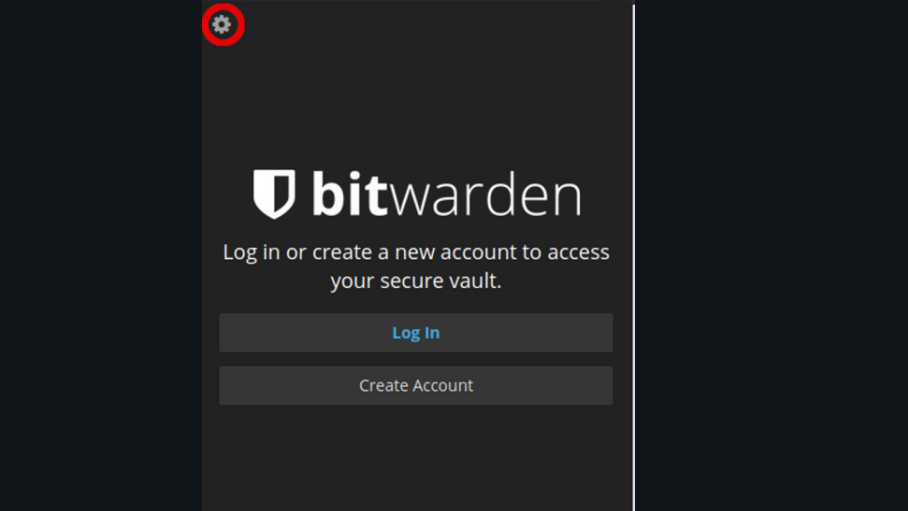
To use bitwarden on your desktop, download the bitwarden desktop clients or install the browser extensions from your browser. There is also a nice bitwarden client for Android available. To setup your self-hosted environment into the extension you need to click the settings gear icon(⚙) in the extension.
Next in the “Server URL” field, enter your server’s name. It must look like the image below.
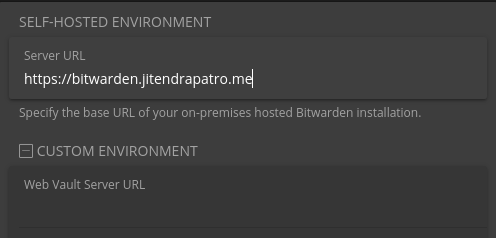
After that click the save button and then click on the “Log In” button and enter your credentials. All your passwords will now start syncing with the vault.
Conclusion
Bitwarden clients let you save the TOTP secret keys in them. You can use the clients both as a password manager and an authenticator app. A password manager can improve your security hygiene by a long shot and the satisfaction that comes when you know you’re in charge of the server where your credentials are getting synced to, is priceless. All that being said, now I’ve only two more articles remaining to write from the list I mentioned in my first blog post. Hope I finish them soon.:)
Great guide!
Thanks.:)